And there it is, the final installment of our Windows 365 Enterprise – The (Nearly) Painless Step-by-Step Deployment Guide series! We’ve come a long way together, and if you’ve been following our journey, you should now have a solid foundation for deploying Windows 365 Enterprise Cloud PCs. But we’re not done yet! In this last part, we’ll tackle the remaining steps to ensure your deployment is smooth, efficient, and (almost) pain-free.
In our previous posts, we’ve covered the necessary requirements, assigned licenses to users, configured user settings, and delved into Azure network connections and custom images. Now, let’s wrap things up with provisioning policies and connecting to your shiny new Windows 365 Cloud PC.
So, grab your favorite beverage, and let’s dive into the final stretch of our Windows 365 Enterprise deployment adventure!
Create a Provisioning Policy
Time to create a Provisioning Policy, the key to assigning the Cloud PC with your preferred image. You can whip up multiple Provisioning policies and link them to different Azure AD security groups.
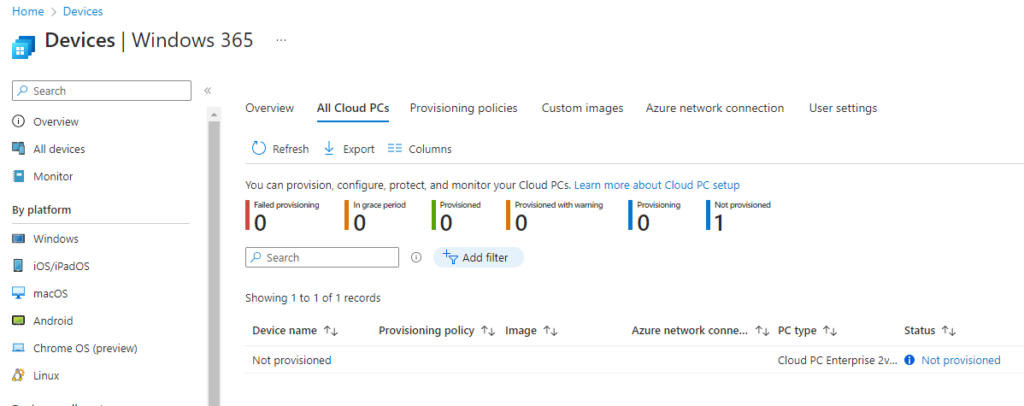
You might notice that, as shown above, there are no provisioning policies in place yet, and the Cloud PC is marked “Not provisioned.” Fear not, we’ll change that in a jiffy!
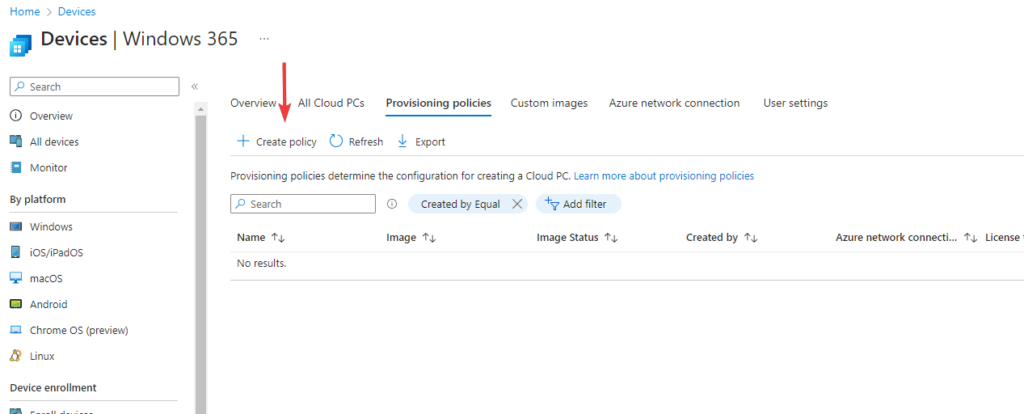
Head over to the Provisioning policies tab and hit + Create policy.
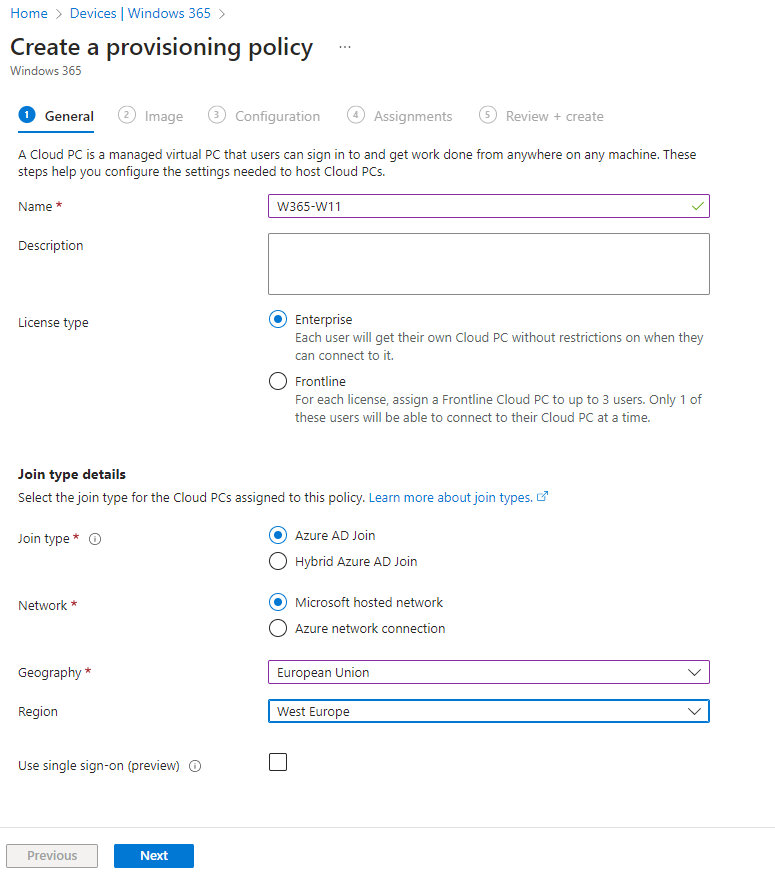
Name your policy, pick the Join type (Azure AD Join or Hybrid Azure AD Join), and choose the Microsoft hosted network or an existing Azure network connection (as discussed in the previous steps). For the Microsoft hosted network, select the Geography and Region. Don’t forget to enable Use single sign-on, then click Next.
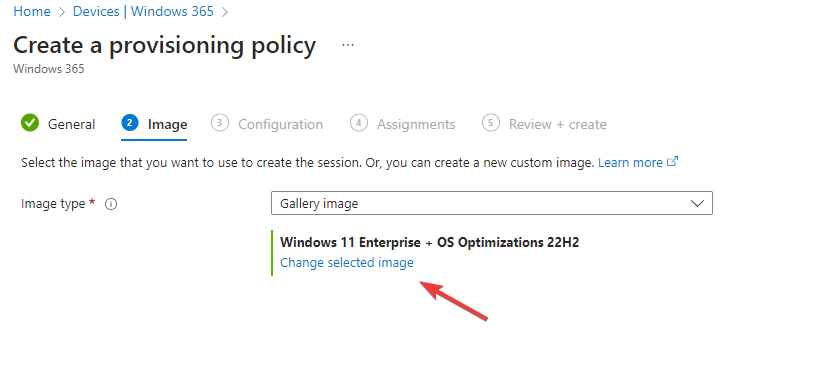
Now, it’s time to pick an image: either a Gallery image or a custom one. If you opt for a Gallery image, you’ll get choices like Windows 10 or 11, with or without Microsoft 365 apps, and the version/build. Choose your favorite and click Next.
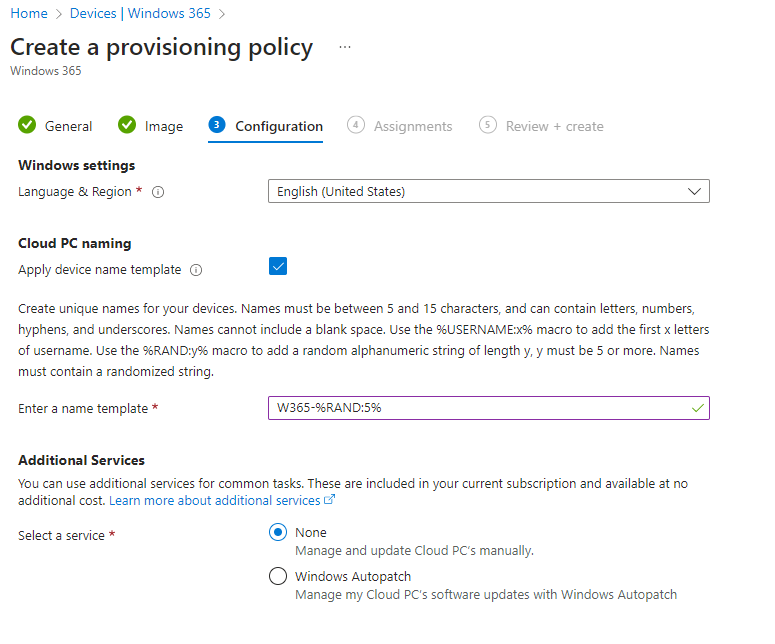
Select the Language & Region and device name you fancy and decide how you want to update the Cloud PC. You can go manual (using Windows update policies in Microsoft Intune) or let the Autopatch service do the heavy lifting. Click Next.
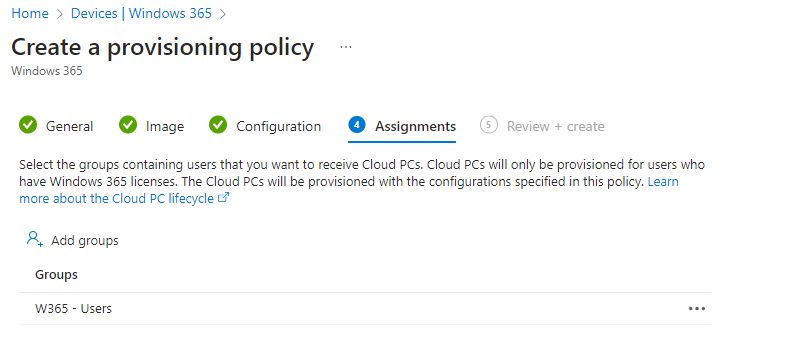
Pick an Azure AD security group and click Next and finally, click Create.
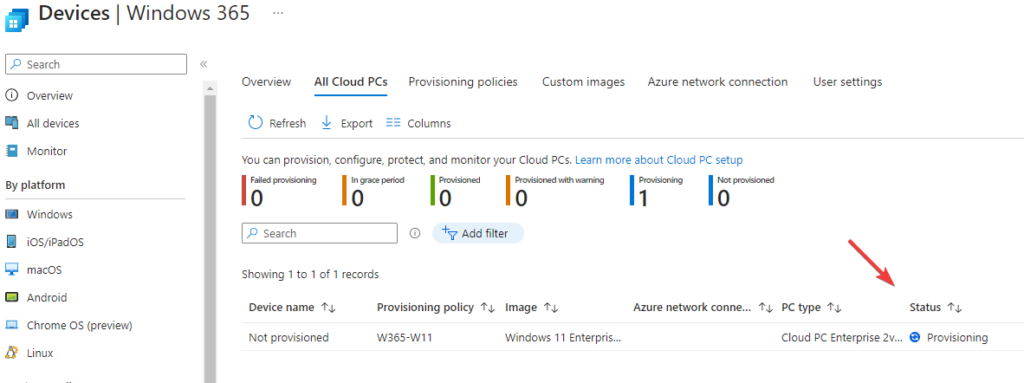
Once the provisioning policy is in place, Cloud PCs for the assigned users will be provisioned. After the provisioning is complete, the status changes to “Provisioned,” and voilà, the Cloud PC is ready for action!
Connect to the Windows 365 Cloud PC
Time to connect to your shiny new Windows 365 Cloud PC! There are various clients available depending on the operating system you’re running on your local device. Let’s start with the web client. Head over to https://windows365.microsoft.com/.
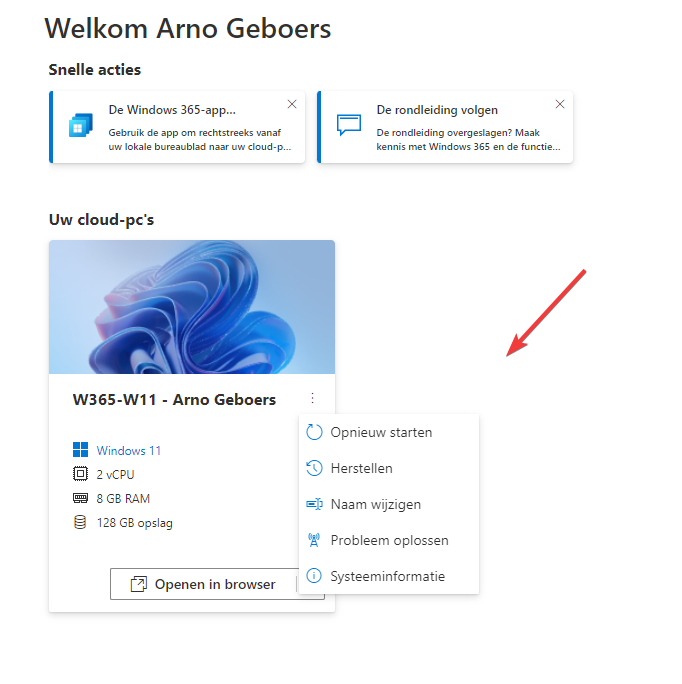
Once you’ve signed in, you’ll spot your Cloud PC front and center. This web interface lets users restart, restore their Cloud PC, and access a few other handy options.
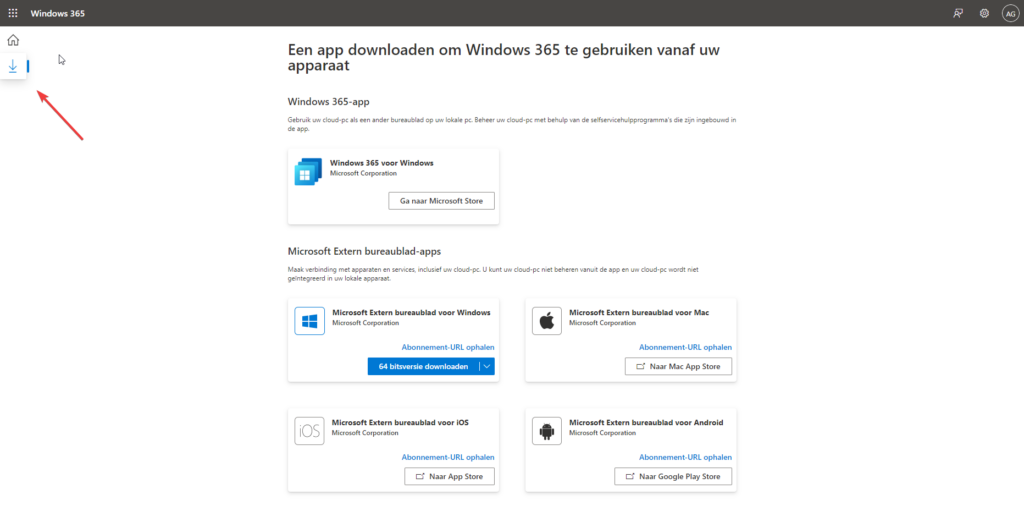
Looking for other clients? Just visit the Remote Desktop Clients page to find download links and details for each available client. For instance, the Windows 365 for Windows app can be downloaded directly from the Windows Store.
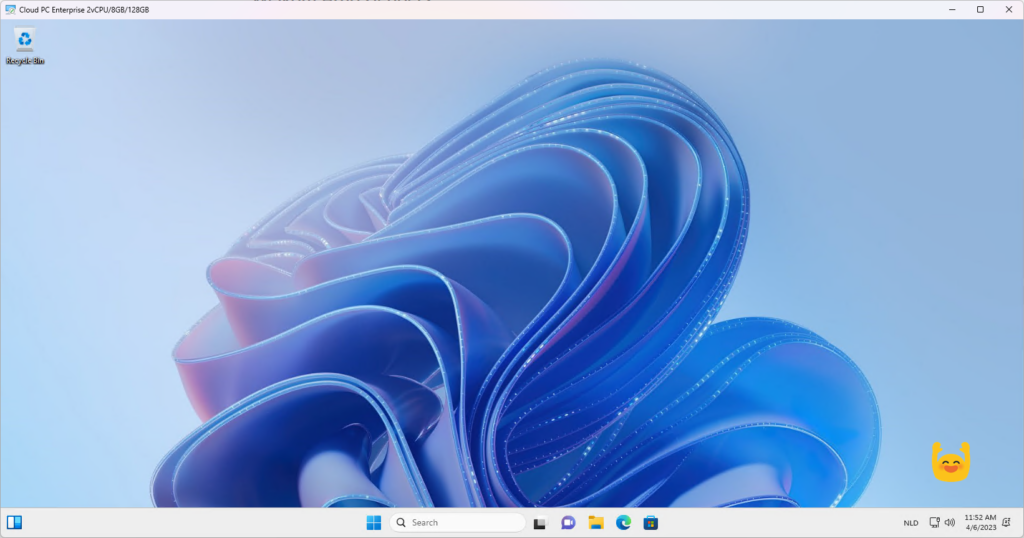
Give that Connect button a click, and in a matter of seconds, you’ll be greeted by your Windows 365 Cloud PC. Welcome to the future of computing!

